I have a quick question for you: is this photo real?

Take a close look at it.
The details of the cat’s fur. The reflection of the sunlight on the phone. The shadows cast by the coffee mug.
It looks pretty real, doesn’t it?
But with the title of this post being about “product renders,” you already know it’s not.
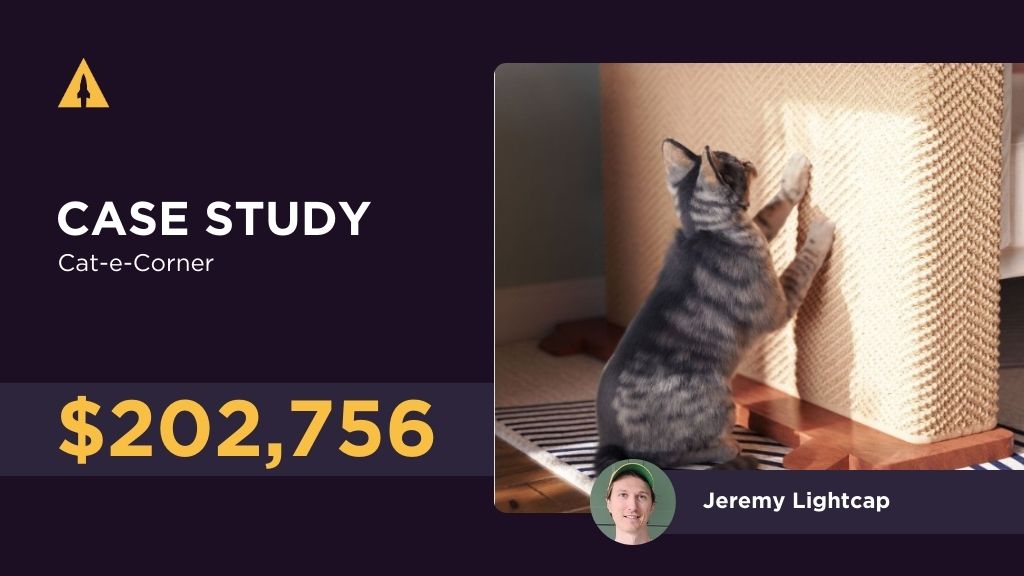
This product render is from the Cat-e-Corner Kickstarter campaign made by a creator we recently worked with named Jeremy. And the point of this post isn’t to gawk at how photorealistic renders can be these days. Instead, it’s to explain how renders like this one helped Jeremey speed up his Kickstarter launch by months, where he went on to raise $202,756.
In this post, I’m going to show you how you can too. But before I do that, you have to understand how to launch a successful Kickstarter.
Contents
Understanding How To Launch a Successful Kickstarter
To have a successful Kickstarter launch, you have to have a successful pre-launch. That’s why the entire LaunchBoom System revolves around what happens before you press the launch button. And if you don’t execute on the right pre-launch strategy, your campaign will be dead in the water.
Here’s why.
The pre-launch is where you’ll build an email list of people who can’t wait to buy your product. You’ll use that list of emails to get you funded on the first day. And doing that will make you stand out on Kickstarter’s platform, letting you tap into their community of over 23 million backers.
Now building up this pre-launch list boils down to three phases:
- Building your Reservation Funnel: during this phase, you’ll create your reservation funnel using our software called LaunchKit. This funnel allows you to collect $1 reservation deposits – those that put down a $1 reservation are 30 times more likely to back your campaign.
- Testing product positioning: next, you’ll begin advertising on Meta to drive traffic to your reservation funnel to learn as much as possible. The goal here is to have confidence before investing more into your Kickstarter launch.
- Scaling your audience: once you’ve completed your testing process, you can begin to scale up your advertising to build a big enough email list to launch. This is also where you can finish your prototype and get real photos of your product.
Now, creators can not begin the pre-launch process until they have images of their product. So because of that, many creators delay starting the process because they believe they have to make their prototype perfect before they take photos.
But Jeremy took a different approach.
Jeremy got product renders first. And because he went down this different (and better path), he was able to kickstart the pre-launch process.
How Jeremy Used Product Renders
Let’s go back to the beginning. When we met Jeremy…
- He did not have the perfect prototype
- And he did not have good product photos
But that didn’t stop him from starting his pre-launch marketing. He knew that getting product renders would be way faster and more cost effective than finishing his prototype and getting product photos. So he went out and got some initial product renders done. With those in hand, he then created his entire Reservation Funnel and all his initial ads.
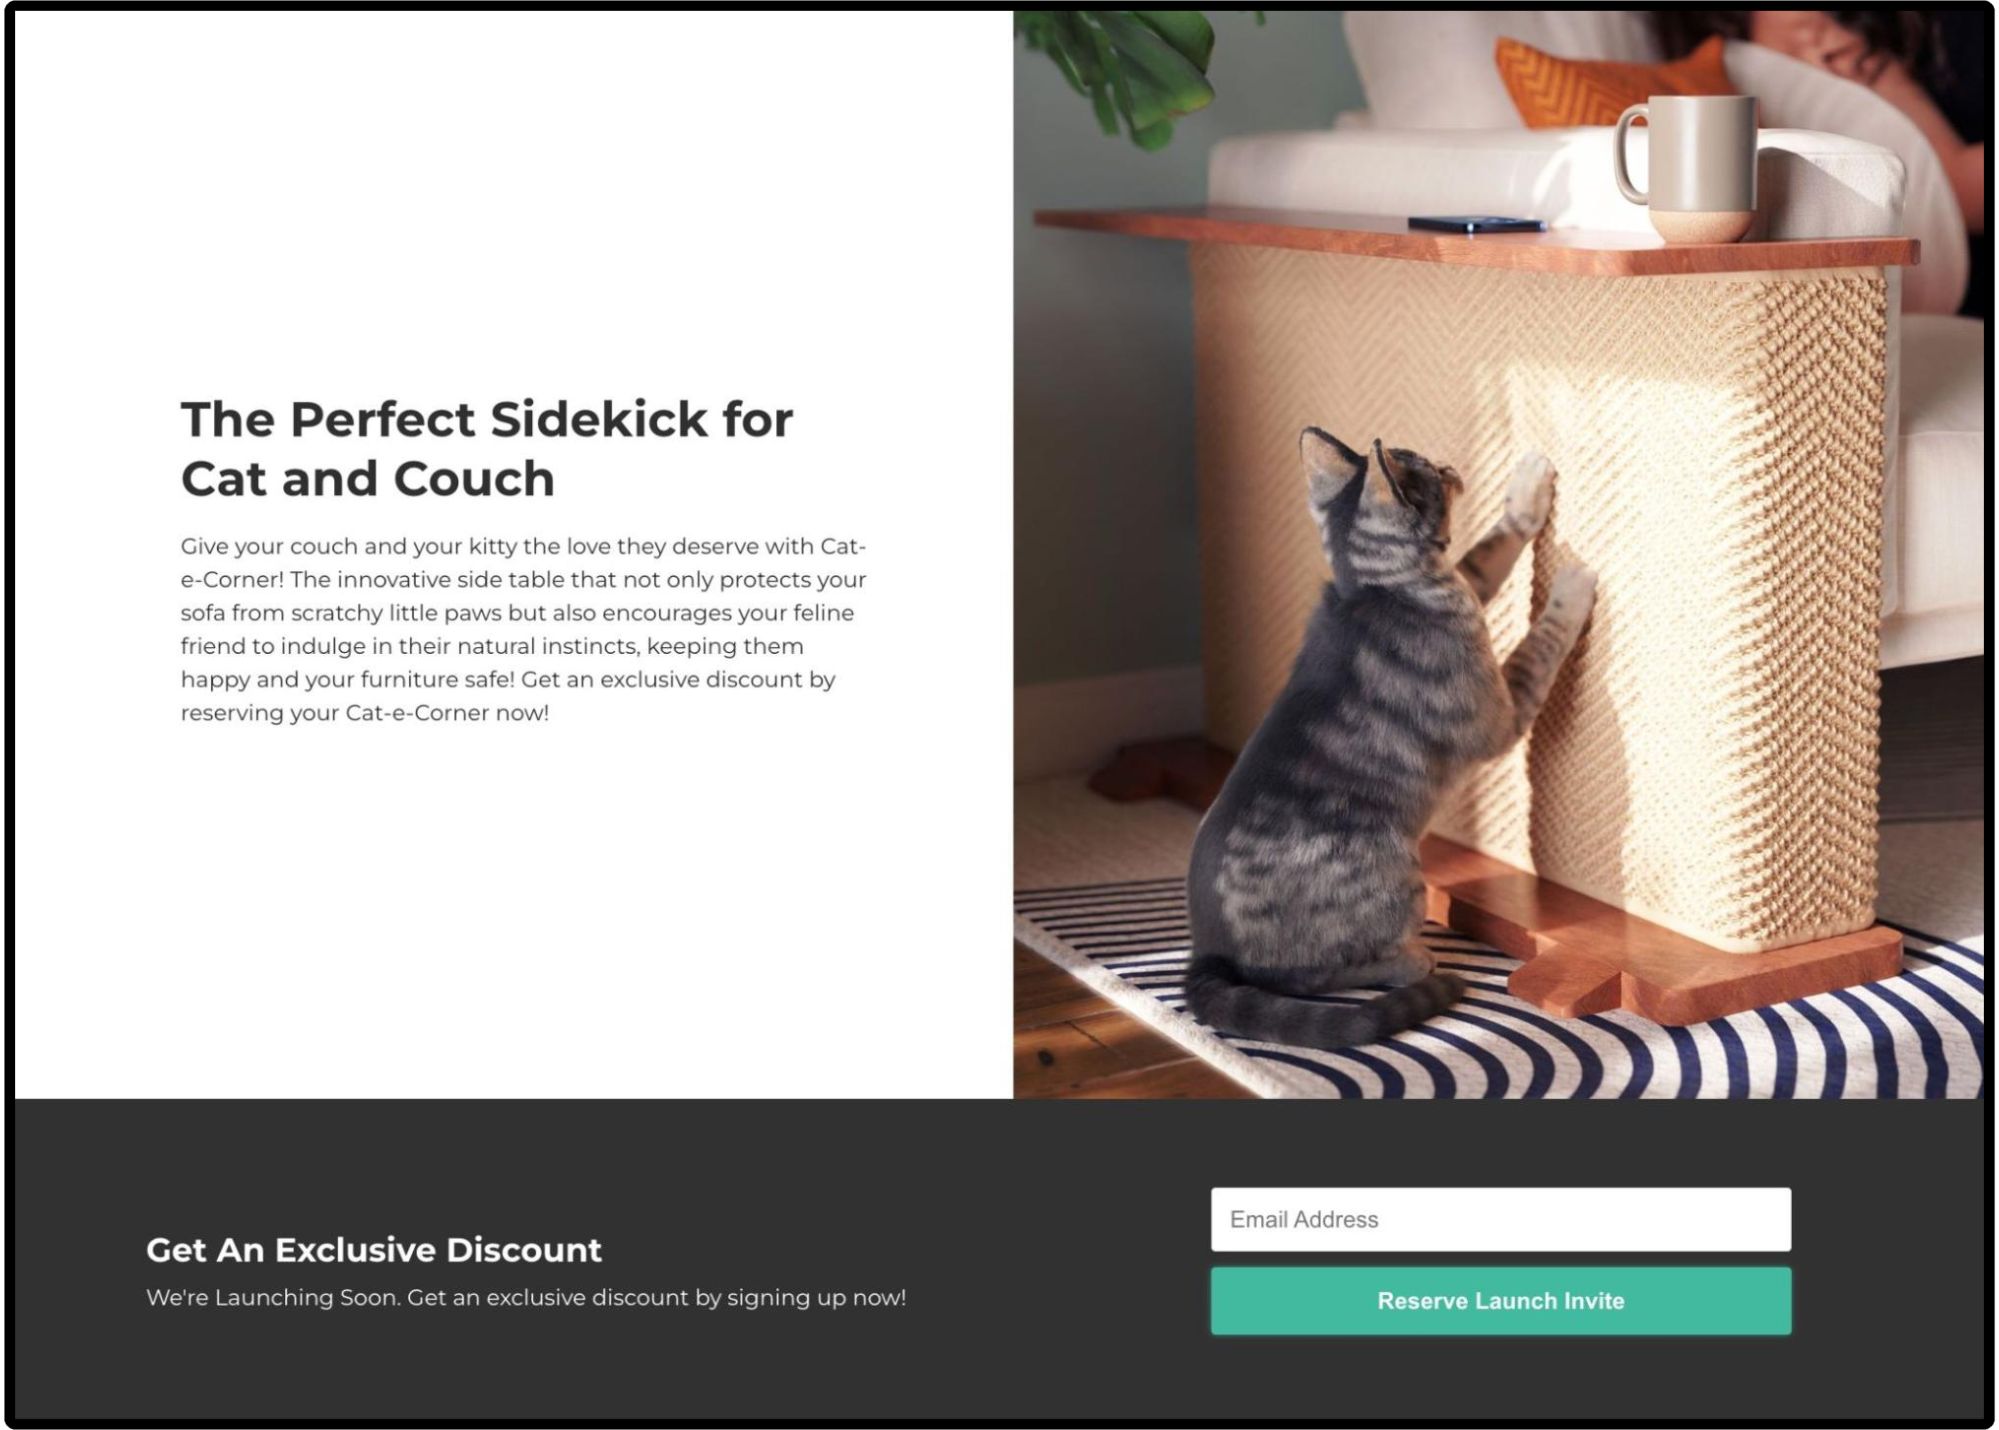
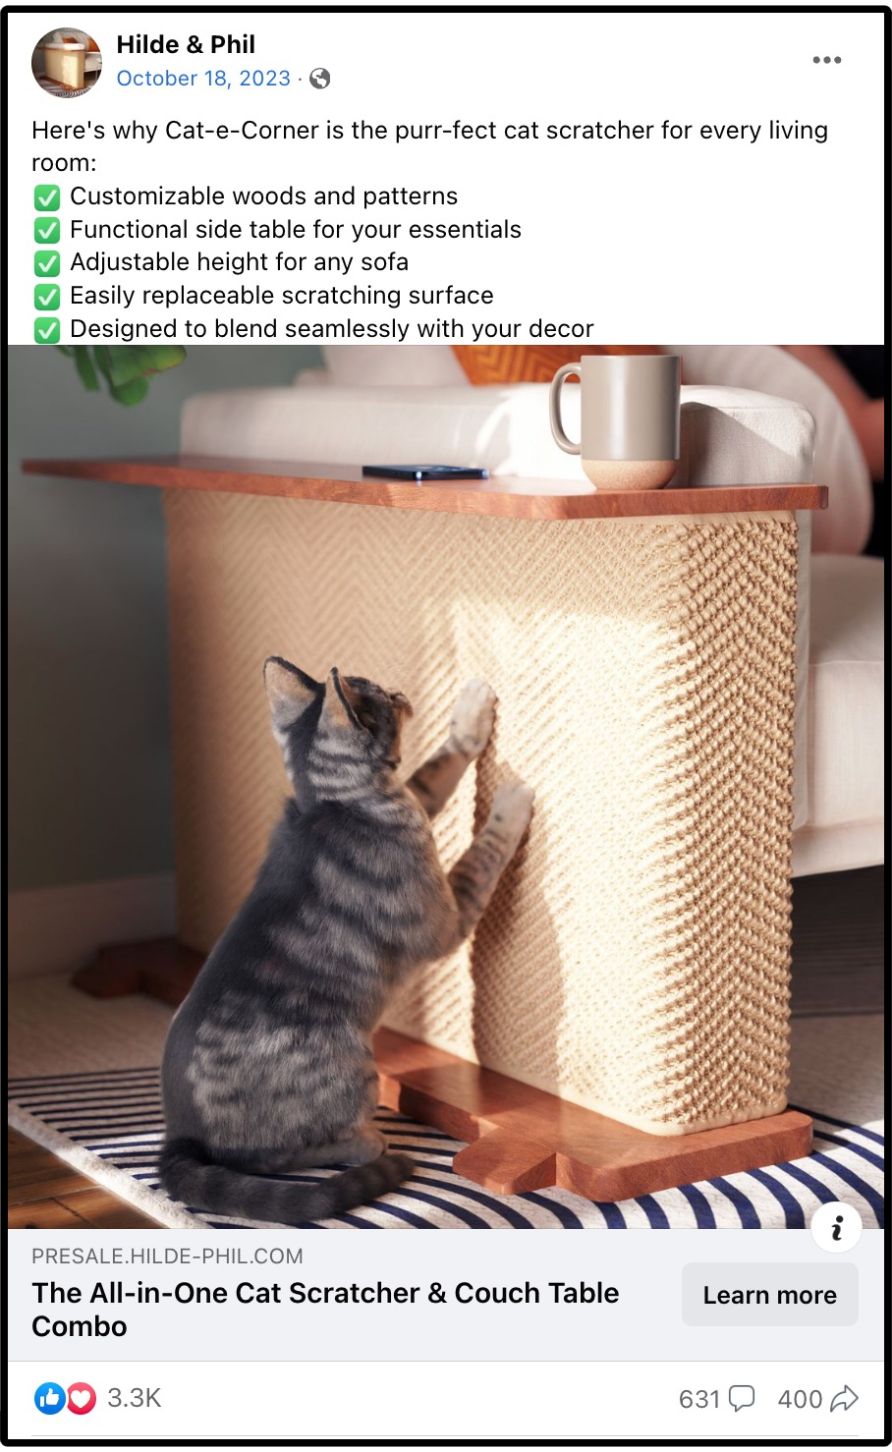
Besides the photo I showed you at the beginning of this post, here are some more product renderings he got:
Using these product renders he was able to create his initial reservation funnel landing page which looked like this:
He also used these images to create his first Meta ads for the testing phase:
Jeremy’s reservation funnel and Meta ads clearly looked great with product renders, but I still haven’t explained how it directly benefited his launch.
How Product Renders Benefited Jeremy’s Launch
By getting product imagery sooner, Jeremy was able to start testing his ads sooner.
If you remember back to the three phases of the pre-launch I shared earlier in this article, the testing phase comes second.
Testing is one of the most important parts of the LaunchBoom process because it gives creators certainty. By only spending $1,000 to $2,000 on ads during our testing phase, creators are able to learn…
- How much they are likely to raise
- How much their ad budget needs to be
- And what will be their likely return on ad spend
If Jeremy wouldn’t have gotten product renders, then he would have had to wait months to start this testing process as he finished up his prototype and then got product photos. That would have meant delaying his launch by months.
Instead, the product renders allowed Jeremy to get started on the testing process immediately while he finished his prototype at the same time.
Here were the results of his testing phase:
- Ad spend: $1,480.66
- Leads: 2,385
- Cost per lead: $0.62
- $1 reservations: 61
- Cost per reservation: $24.27
By putting his testing data into one of our predictive models, we were able to show Jeremy that the campaign was likely to yield a very high return on investment. With that clarity, Jeremy was able to move to the next phase of our system, called Audience Building, with confidence.
Finishing His Prototype And Launching A Successful Campaign
With the certainty from the testing phase, the risk to invest more into his launch was significantly less. Because of this, Jeremy scaled up his advertising efforts and finished his prototype and remaining marketing assets.
He went on to capture real product photos and get his Kickstarter video made. If you have a moment, I’d watch his Kickstarter video. It’s great!
And now with his pre-launch email list built and his prototype and all his marketing assets complete, he launched his campaign and quickly found success. He raised $111,035 in one day, and by the end of the campaign, he had raised $202,756.
How You Can Use Product Renderings
Getting product renderings made isn’t hard. There’s a huge industry of 3D render artists around the world. Because of that, most creators find getting product renderings made to be way more affordable than they originally thought.
You can typically get really great product renderings done for under $2,000. That will give you a variety of images in different locations that can be used across your Meta ads and Reservation Funnel. So yes, there is a cost to getting these done, but what’s the worth of speeding up your launch by a few months?
I think it’s worth a lot.
Also, LaunchBoom has a network of recommended 3D render artists that will give discounted pricing to LaunchBoom Creators. Reach out to us here to set up a time to speak to one of our experts and we can give you more details. I look forward to learning more about your product.